
WP Rocket is the best plugin for boosting the speed of your WordPress website. It is also a no. 1 WordPress caching plugin. If you set up WP Rocket on your website, you can achieve good scores on speed testing tools like “GT Metrix”, “Pingdom”, “Google Page Speed Insights”, etc. You can also get the fastest loading time for your site pages.
In this guide, we will help you easily configure all settings in the WP Rocket plugin so you can get the best performance results for your website. We suggest you run speed tests on different speed testing tools before and after installing this plugin to compare the speed scores. If you don’t know how to install the WP Rocket plugin then follow our guide on “How to install a plugin in WordPress?“.
How to set up WP Rocket Plugin
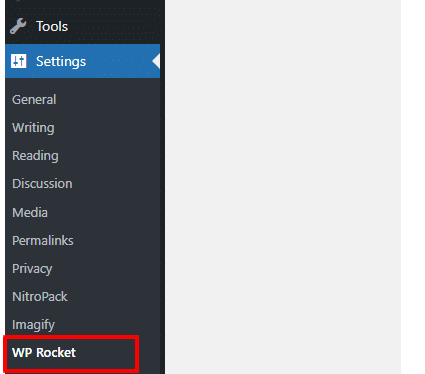
Go to WordPress settings from the left sidebar of the dashboard. Navigate to the WP Rocket option.
Now, a WP Rocket dashboard will appear in front of you. In the left pane, all tabs contain options for optimizing speed. Let’s begin playing with these options.
Step 1: Enable Cache Options
When a lot of users visit your website, WordPress fetches website data from the database and displays it to the users. This process consumes a lot of server resources and slows down your website’s loading speed.
WP Rocket Cache feature resolves this issue by saving a static copy of your pages in the browser cache. Hence, when a user visits your website, WordPress will quickly display cached pages to the user instead of fetching data from the database. This results in the fast speed performance of the website pages.
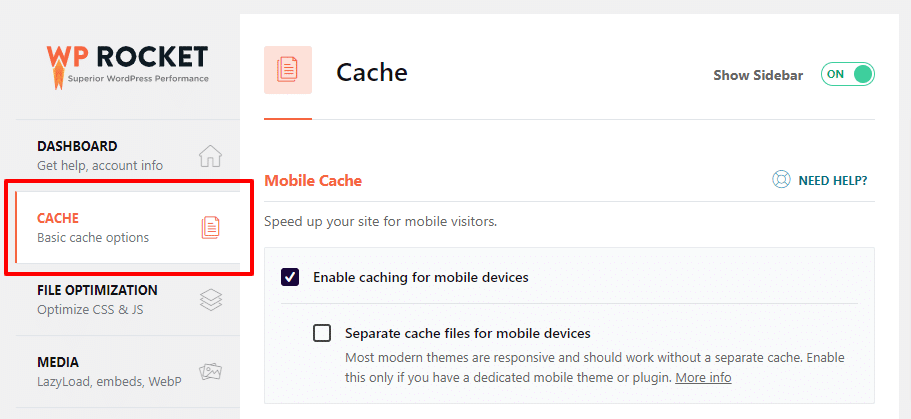
Firstly, click on the Cache tab. Now, you will see various cache options.
-
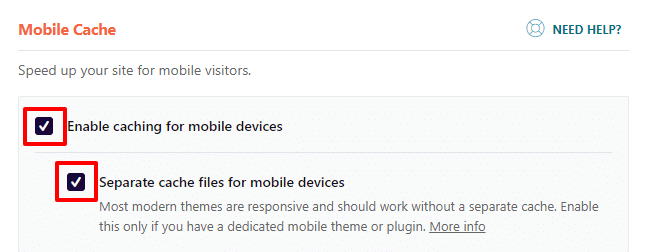
Mobile Cache
WP rocket enables caching for mobile devices by default. However, you should also enable the “Separate cache files for mobile devices” option to get a full cached experience on your phones. By enabling this option, WP Rocket will create separate cache files for mobile users, which speed up your website on mobile phones and tablets.
-
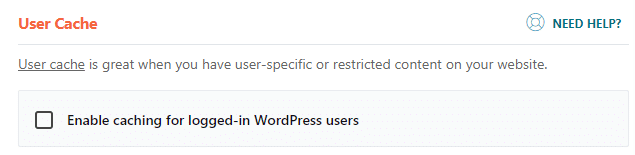
User Cache
This option works well when you have a website where a user login is required to access some premium features. For example, if your website is an E-Commerce website or a membership site, then the “Enabling cache for logged-in WordPress users” option will boost the user experience.
If your website does not include login functionality, there is no need to check this option.
-
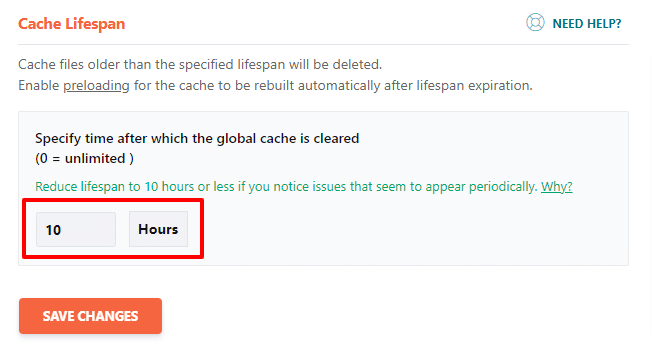
Cache Lifespan
The time span for storing the cached files on your WordPress site is known as Cache Lifespan. The default lifespan is set to 10 hours by the WP Rocket plugin. If your website gets updated daily, you can set the hours to a lower value. On the other hand, if your website doesn’t get updated periodically, you can increase the hours.
When the specified lifespan expires, WP Rocket deletes all cached files stored on the website. Then it begins to preload the cache with updated content.
Step 2: Minify CSS and JavaScript Files
Through WP Rocket, you can minify your website’s CSS and JavaScript files. Minify means removing white spaces and comments from the CSS and JS code to reduce the file size.
If you have a website with heavy traffic, then minifying your website’s static (fixed / not-changeable) content helps reduce its overall bandwidth usage.
-
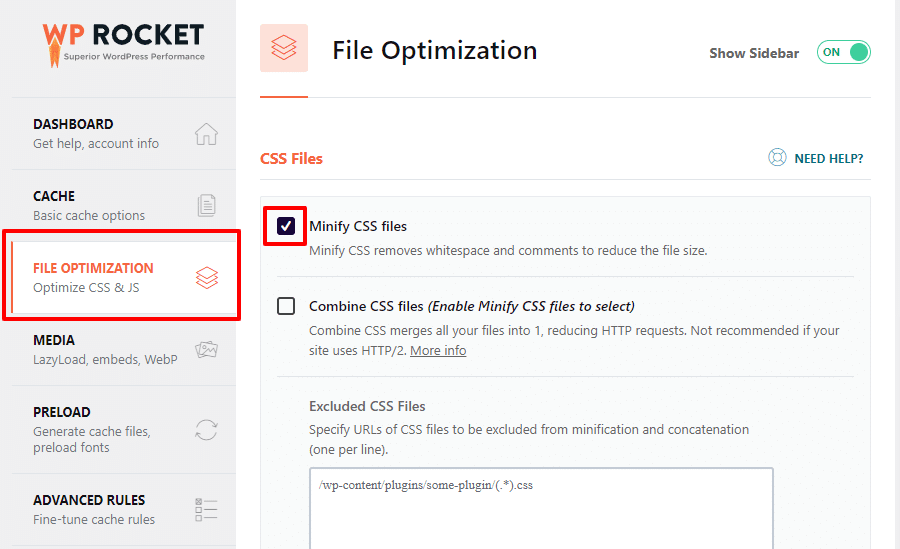
Minify CSS Files
Firstly, navigate to the File Optimization tab in the WP Rocket settings to minify CSS stylesheets. Secondly, enable the “Minify CSS files” option.
Disclaimer: Sometimes, your website design can be broken by enabling the “Minify CSS File” option in WP Rocket. Therefore, if you notice any errors on your website after activating this option, disable it again, and your website will recover to its normal state.
-
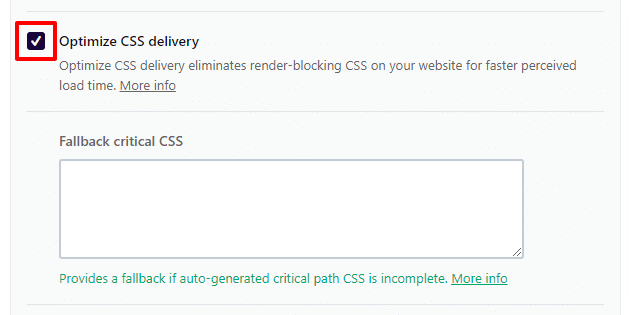
Optimize CSS Delivery
Enable this option to eliminate the render-blocking CSS on your website. As a result, you will perceive a faster load time for your website.
-
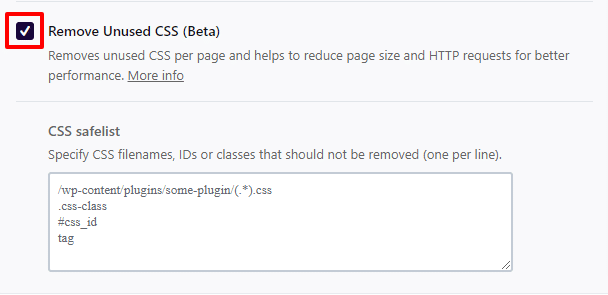
Remove Unused CSS
Check this option to remove unused CSS per page. This option helps in reducing the page size and HTTPS requests which results in fast performance.
Disclaimer: This is a beta feature of the WP Rocket plugin. WP-Rocket has provided early access to this feature, but some changes or add-ons might be added later. Hence, deactivate this option if you notice any bugs or errors on your website.
-
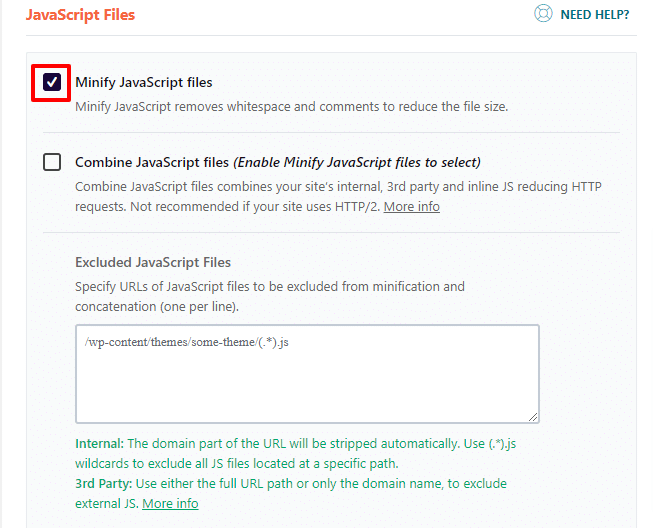
Minify JavaScript Files
Enable the “Minify JavaScript files” option to remove whitespaces and comments in your JS code. It will help in reducing the (JavaScript)JS file size.
Disclaimer: Sometimes, enabling the “Minify JavaScript files” option in WP Rocket can break your website. Therefore, if you notice any errors on your website after activating this option, uncheck it again, and your website will restore to its normal state.
-
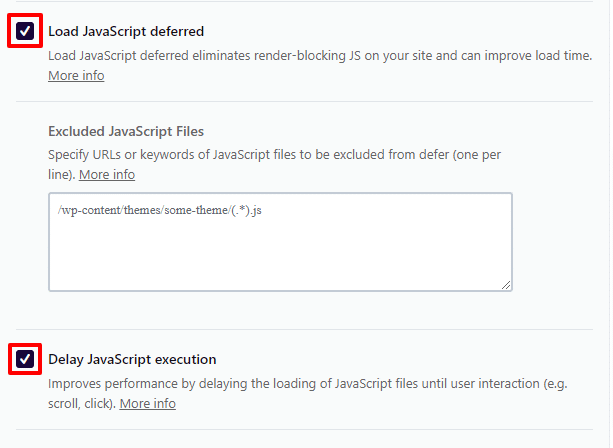
Load JavaScript Deferred
We recommend you enable this option as it will help eliminate the rendered-blocking JavaScript and improve your website’s speed.
-
Delay JavaScript Execution
In this step, you should enable the “delay JavaScript execution” option to improve the website performance. By activating this option, WP Rocket will delay the loading of JavaScript files until the user interacts with the website. User interaction can be in a mouse click, scroll, etc.
Step 3: Lazy Load Images to Improve Website Speed
Images play an important role in website speed optimization. They are one of the heaviest items on a page. They take more time to load as compared to text. A new technique has been introduced to delay image loading on a web page. This technique is known as “Lazy loading”.
Rather than loading all images on a page at a time, we can load only those images that will be visible on the current user’s screen. It will boost your page loading speed. To know about the lazy loading technique in detail, have a look at our detailed guide on How Lazy Loading works and what are the best plugins for lazy loading?
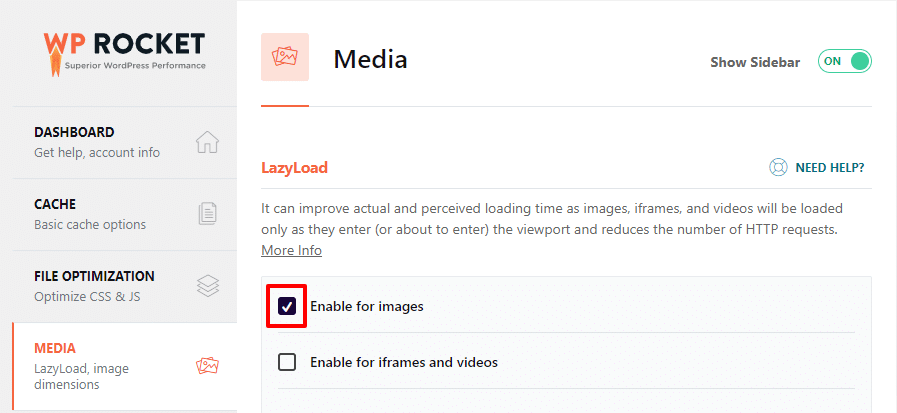
To configure the lazy load option in the WP Rocket plugin, navigate to the Media tab on WP Rocket settings to enable lazy loading for images. Select the “Enable for images” option.
If you have embedded the videos and iframes on your website, you can also check the “Enable for iframes and videos” option to lazy load videos. If you don’t have any videos or iframes on your website then don’t enable this option else it will add an extra script to your site which can impact your site’s performance.
In addition to the lazy loading of images, you should also optimize your website images to achieve outstanding performance for your website. You can easily optimize images using the Imagify plugin of WordPress.
Step 4: Preload in WP Rocket
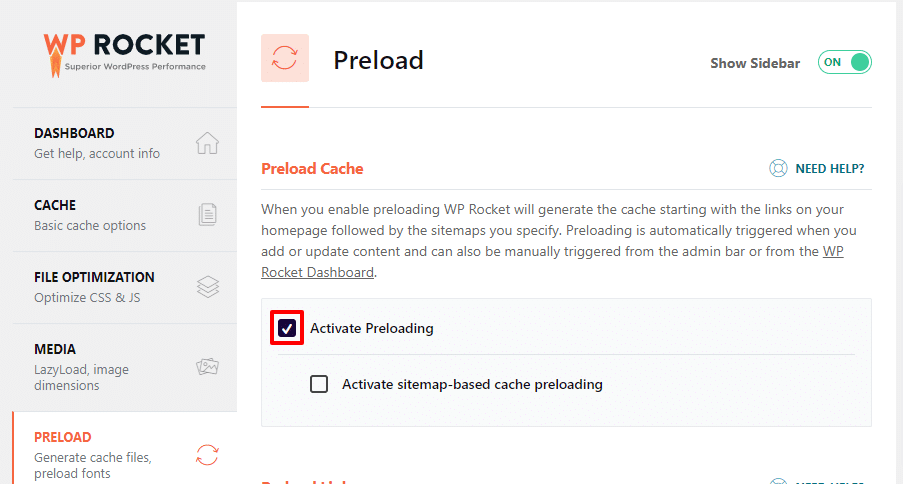
To explore the preload feature of WP Rocket, navigate to the Preload tab of the WP-Rocket settings.
Now, you will see that WP Rocket has enabled the “Activate Preloading” option by default. You can disable this option if you often found 505 errors on your website or if you found your website speed has been slowed down. You can also disable this option if you notice that the CPU usage, physical memory, and other memory resources in the website C-panel have been consumed rapidly.
Conclusion
In this WP Rocket tutorial, you have learned so far how to set up WP Rocket’s latest version. WP Rocket is a remarkable plugin used for WordPress speed optimization. You should install it on your WordPress website in order to boost its performance. In addition, you can also install any of these best 6 cache plugins on your website if it loads slowly.
If you have any questions related to this tutorial, feel free to ask below in the comment section.
You may also want to learn “How to Install a WordPress Theme“.


Leave A Comment